Kew’s Painting Log
Hi everyone, today I’m going to show all of you that painting can be done in three simple steps, Washing, Over brushing and Dry brushing. Those that follow these steps will be able to paint decently enough, even for beginners. First of all, you need to undercoat the miniature it with a primer. Primer is a coating layer that helps ensure that the paint stick on the miniature and does not fall off easily. For beginners, I would recommend priming it either black or white.
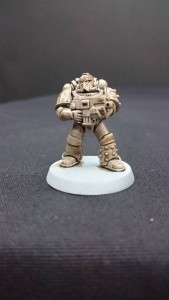
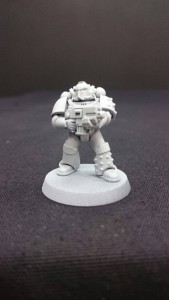 The reason I primed it [the model] white is because I’ll be painting it yellow for the base colour. As yellow is a bright colour, priming it black may not be a good idea because it will cause the model to look duller after painting a bright colour on a black surface. Now the issue with a white undercoat is that it causes any mistakes or regions that you might have missed out on to stand out even more. A way to tackle this is to wash the model with Agrax Earthshade. Washing is a technique that can be used as a touch up when painting models, but I’m using it first because I want make certain that some areas will be darker to create a shadow effect, especially for those areas that I did not manage to paint or missed out. Just dip a shade brush into the paint, don’t have to drive it and just paint as per normal. Try not to leave any excessive pools of the shade on the model as it may make some of the fine details less obvious.
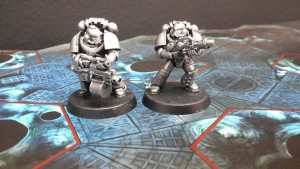
Soldiers getting in line to get a good nice ‘Mud wash’ 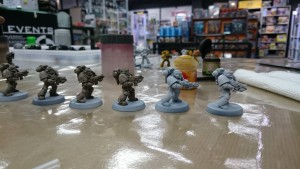
Once done with washing, leave it to dry completely. There you have it, 1/3 of the painting is complete. Till next time stay tuned!
Mokan’s Painting Log
Hi everyone, I am into the second week of my task to prove how easy it can be for anyone to pick up miniature model painting.
Just a general recap from last week, I learnt a few different methods of painting models like dry brushing and applying base colours. I also put to that knowledge to good use and tested it on a few models.
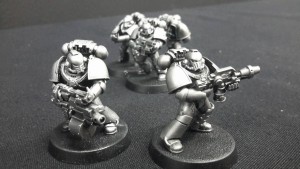
Continuing from where I left off from last week, I continued with the painting, but a bit differently. Initially I did one model at a time, which was primarily because I was a bit afraid on making mistakes. However since I am more confident now on doing the models as I was taught, I changed my routine slightly. Basically I did dry brushing first for all the remaining models and then the added the base colour, followed by the detailing and finishing it up with a little clean up. Since I did this way, I managed to actually do it at a faster pace and also my models seems more consistent as well.
As far as problems goes, I did not encounter any new issues this week, but I still had some trouble from the previous with regards to handling my brush so that I don’t go over unintended parts of the model. I found myself making significant improvements on getting the mixture between water and paint, compared to last week where I ran into the issue of diluting the paint too much which caused the result to be not as expected.
I also had a small little session with a group of two where I taught them on how to paint similar models with the same colour scheme and technique that I was working on. I gave them a short tutorial similar to what I got before embarking on painting these models. The quick and easy method of producing such astonishing visuals by using the dry brushing technique was definitely something that caught their attention greatly. That encouraged them to try out the dry brush technique as well and honestly they did a way better job than I did on my first model.
As a whole, I managed to get quite a number of models done this week compared to last week, and I am also much more satisfied with the results. The fact that I managed to get a small group involved and try out successfully the techniques I am using to quite a substantial effect proves my point that painting models are actually not that hard.

